Showing posts with label power tool. Show all posts

Wednesday, September 18, 2013

Bandsaw Gullet Crack Followup


Not long ago I recorded some observations in the Bandsaw Blade Crack Failure post.  Yesterday I replaced a broken blade and took a couple of images to illustrate another point.

When I noticed the saw arm starting to move up and down with each blade rotation I knew a crack had formed.  I tried to get the blade out intact but it snapped all the way in the process.  I laid it on a swage block and marked it with a presto pen to highlight what I wanted to standout.

The image is a poor one but is good enough to record this point - the complete break is several inches away from the weld area.  The other point is that there is a secondary crack on the other side of the weld area a bit further away that the primary failure crack.  Intuition tells me that these are too far away from the weld to be a heat-effect phenomenon but this is a  bimetal blade and that may be a special case.

Frankly, I haven’t paid close enough attention in the past to note whether this is a consistent pattern, but I’m tuned in now and I’ll report what I find.


Wednesday, January 16, 2013

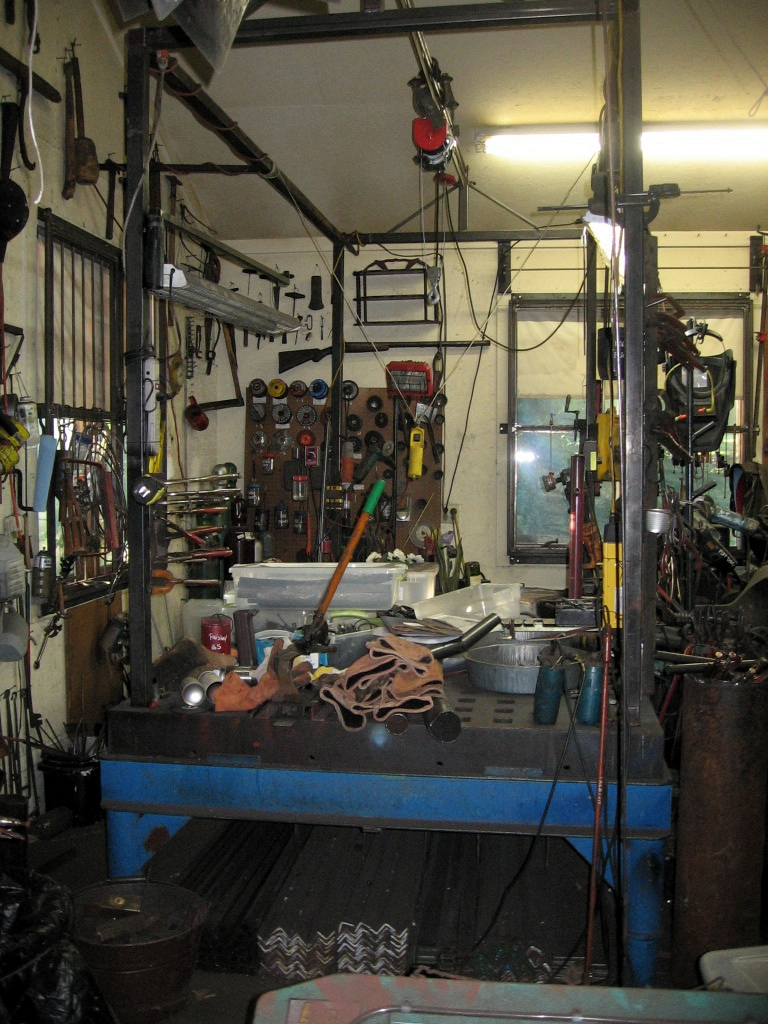
Acorn Table Overhead Frame


When I was contacted by a designer about building some large doors I knew they would be really heavy and awkward to maneuver on the platen table so I decided to build an overhead frame with an electric hoist to make that easier.

Construction began with placing the four corner posts of 2” square tube into the corner holes of the platen table and connecting them at the top with a rectangular frame.  On the east side a short bar, approximately three foot long was attached to the wall from the midpoint of the top long rail for added stability.

Then it was just a matter of making a track for the hoist to travel along from end to end.  A carriage was built incorporating two pulley wheels supported by a piece of schedule 80 pipe stiffened by welding a longitudinal rib of 1/4” x 2” flat bar.  A second pipe was placed above the pulleys as an additional guide.  This was mounted to the top frame as high as the ceiling would allow.

To aid positioning of the hoist I added a wire rope pulley arrangement to each end of the hoist and to each end of the frame top.

In actual practice this is sort a good news/bad news story.  The good news is it works well.  The bad news is I probably haven’t used it enough to justify building it.  Mostly it has been used as the starting point for building other much smaller framers to aid construction of various projects and it has been handy for hanging things and keeping the clamp assortment organized.  More often it operated in “clutter mode” piled with work in progress.

Selected Dimensions:

End opening between posts = 4’4”
Side opening between posts = 9’4”
Table surface to top frame = 6’2”