
Archiving the IronArt Journal of Dr. David Edwards
Primary Artist Blacksmith of Persimmon Forge
Friends and Visitors,
As you may have noticed, activity on the blog tapered out around 2017 when a combination of health problems caught up to David to the point where he had to retire from active forge work. (Concentrated oxygen doesn't pair nicely with open flames.)
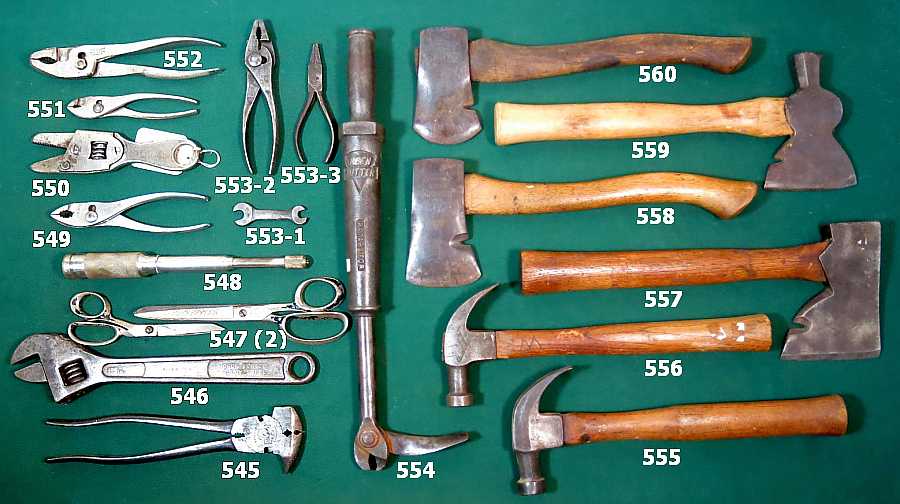
He continued some design work and mentoring while gradually winding down the shop and distributing tools to where they could continue to be used well by the next generation of blacksmiths. (One of his mentees even went on to win “Forged in Fire.”) That process, and moving to be closer to family took quite a bit of time over the next couple of years.
Fortunately he never had to slow down entirely; he always had a very active mind and he turned his attention to finishing some long term writing and archiving projects for the family. He resumed a bit of gardening and nature study which he'd always loved and always continued lots of reading and study.
You may be happy to know that he had a couple more very good years in him, and he was highly productive even to his last day. David passed away on October 19, 2020 with impressive grace and dignity and the nearby family gathering to support each other. He even managed to avoid the famous COVID craziness this year, but as he would likely say, "something will always get you eventually anyway."
He put a lot of preparation work into making sure everyone was psychologically prepared for the inevitable, and I think he'd be glad to know that he left us feeling very happy for the time we all had with him.
- = - = -
He also really wanted to help other creative people by sharing things he learned and invented over the years. So, although the old shop website no longer exists, and this journal will not have new entries and will not be monitored very actively, we will try to check on this site periodically to make sure that this content stays readable and searchable for as many years as possible. (If there are any major problems with the site, you can contact his son to check on it, by email to "keithdke at gmail dot com".)
There is a lot of content here (over 500 posts) but blogspot does not always make it easy to determine or highlight which posts people find the most useful, so do use the search feature, and when you find something helpful or interesting we encourage you to share it further -- link to it or even copy or repurpose some of the content, just so long as you remember to credit David and provide a link to his original posts.
Specifically, the family has responded to a request from BAM, the Blacksmith Association of Missouri, to reuse/reprint David's writings. BAM was one of the places where David met a lot of nice people, learned, and got inspiration.
- https://www.facebook.com/Blacksmiths-Association-of-Missouri-410386702369131/
We hope you continue to find his explanations and observations to be useful and enjoyable reading.
- The Family of David Edwards

 |
| Demonstrating |
")


